Frequently Asked Questions
How does the Soft Gel Press On Nail Kit compare with regular press on nails?
Soft Gel Press On Nail Kit and regular press on nails both provide full-cover nail extensions, but they differ in materials, application methods, and expected wear. Soft gel tips use a lightweight, flexible gel material that follows the shape of the natural nail more closely. Meanwhile, regular press on nails typically use plastic materials, which may provide a firmer feel depending on their thickness and design.
When correctly sized and applied, soft gel tips create a smooth, natural-looking finish that sits closely against the nail plate. The final appearance and comfort also depend on proper nail preparation, tip selection, and application technique.
A soft gel press on nail uses a gel tip adhesive that requires curing under a compatible LED/UV nail lamp. Regular press on nails usually attach with nail glue or adhesive tabs, so they generally don’t require a lamp. This difference in bonding method affects how long each option lasts. Soft gel tips suit longer-term wear, while traditional press ons often provide a quicker, more temporary manicure.
How can I protect my natural nails when using the Soft Gel Press On Nail Kit?
Protecting your natural nails starts with proper preparation, careful application, and following the recommended use of the Soft Gel Press On Nail Kit. Good nail care throughout the application process helps support both the natural nail and the finished manicure.
Clean nails, proper dehydration, and light surface preparation can improve adhesion without unnecessary filing of the natural nail.
Make sure to avoid over-filing the nail plate, as this practice can weaken it over time. Remove only the surface shine where recommended. This prepares the nail for bonding while preserving its natural strength and integrity.
Following the recommended application method also helps create a secure bond while reducing unnecessary stress on the natural nail.
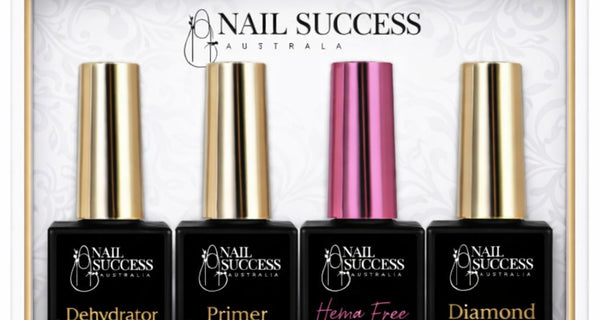
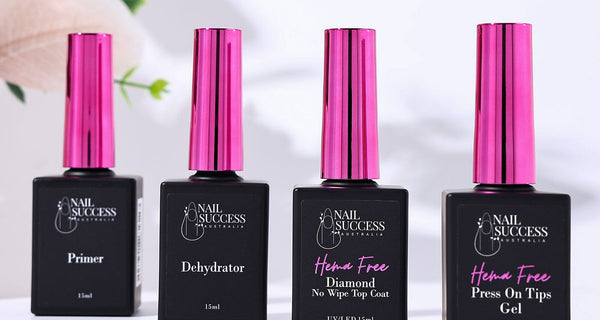
The Soft Gel Press On Nail Kit includes a nail dehydrator and primer to help prepare your nails for your soft gel press ons. These gel nail essentials support adhesion at the nail surface level, so you can rely on the bond rather than heavy filing to keep your tips in place.
Which soft gel press on tip size should I choose?
Choosing the correct tip size helps create a comfortable fit and a more natural-looking manicure. The ideal full-cover nail tips should fit from sidewall to sidewall without pressing into the surrounding skin or leaving visible gaps. A tip that’s too narrow can leave exposed areas along the edges, while one that’s too wide may overlap onto the skin and compromise adhesion.
Size each natural nail individually as well. Finger sizes can vary between your left and right hands, so checking every nail separately helps achieve a more consistent fit across the full set. Skipping this step often leads to uneven results or tips that lift prematurely on certain fingers.
If a nail falls between 2 sizes, go with the slightly larger tip and gently refine the edges with a nail file. This approach gives you a more precise fit while maintaining full nail coverage across the entire nail plate.
Before applying adhesive with your Soft Gel Press On Nail Kit, a quick dry fit is essential. Place the tip against the natural nail and confirm it sits comfortably, follows the nail’s natural curve, and lines up evenly with both sidewalls.
Can I trim or reshape the soft gel press on tips after application?
The tips included in the Soft Gel Press On Nail Kit can be refined after application to achieve your preferred finished shape and overall appearance. Small adjustments allow the finished manicure to suit individual preferences better, whether you favour a tapered almond, a clean square, or a natural round.
Use an appropriate nail file so changes remain controlled and even across all nails. The right nail technician supplies, such as a quality file and buffer, help maintain a neat finish without creating uneven edges or rough spots that could snag.
We also recommend focusing most adjustments on the free edge of the tip. This allows you to customise the length or shape without unnecessarily affecting the bonded area closer to the cuticle. Keeping the bonded zone intact supports retention and a secure fit throughout wear.
Lightly refining the surface of the tips can also prepare them for gel polish, nail art, or other nail enhancement products as recommended. A gentle surface buff promotes better adhesion for colour coats or designs, giving you a smoother canvas to work with when completing the manicure.
On the other hand, different nail shape and length options are available at NSI Australia, allowing you to choose tips that closely match your preferred style before application. This helps minimise the need to trim or reshape the nails after application.
How do I remove soft gel press on nails safely?
When it’s time to remove nails applied with the Soft Gel Press On Nail Kit, begin by trimming the nail length down with a nail clipper or file. Once shortened, gently rough up the top coat or surface shine using a suitable nail file. This step allows the removal solution to penetrate the gel layers more effectively.
Soak the nails using 100% pure acetone. You can use foil wraps, soak-off clips, or a bowl method, depending on your preference. The soaking time will vary based on the products applied, the thickness of the enhancement, and the removal method you choose.
Once the gel has softened, use an appropriate cuticle tool to push the remaining material away from the natural nail gently. If the product resists or feels firmly bonded, return to soaking rather than forcing removal. Prying or scraping gel that has not fully softened can damage the nail plate and compromise future applications.
After all product has been removed, lightly buff the nail surface if needed to smooth any residual texture. Finish with cuticle oil to nourish the nails and surrounding skin. This final step helps restore moisture lost during the acetone soak and supports healthy nail recovery between sets.























 Trusted by Thousands of Australian Nail Technicians