

Chrome Mirror Pigments
Check out the shiny new “CHROME MIRROR NAIL” trend!
Amazing change of Colours ~ endless possibilities! You can use every colour, the effect will always be different.
Experimenting with the chrome pigments is fun!
Here are some tips and some pictures to give you more ideas.
Firstly, to answer the question:*“can I add these pigments to powders?” ~ the answer is:“yes of course you can also add these chrome pigments to any acrylic powders for infinite possibilities ; however the mirror effect you were first looking for will not be present in this situation and you might want to use a glitter instead and save your chrome mirror pigments for a mirror look effect”.
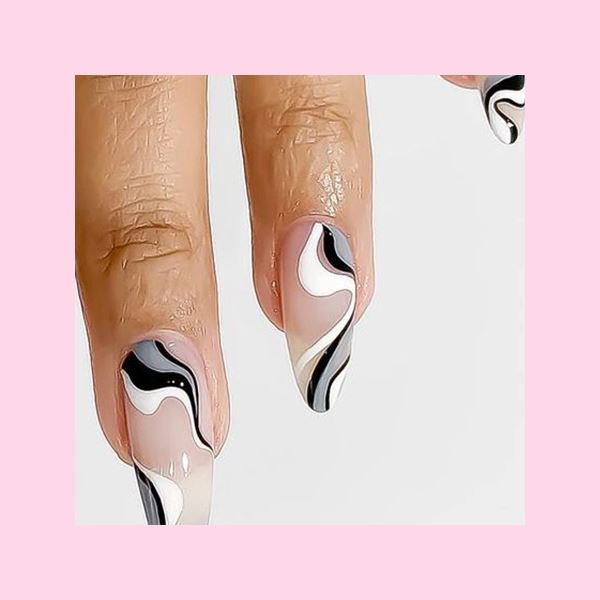
With the chrome pigments, you can now you too, experiment with POLISH PRO COLOURS under the chrome pigments to create a rainbow of different colours of chrome mirror effect on the nails.
See a few combinations that were painted and experimented on top of a POLISH PRO COLOUR. WOW!... So many combinations are possible!
*Which Topcoat to use for the best results?
Make sure you are using a Tack Free Topcoat, otherwise you won’t get a mirror finish.
After experimenting with all our range of Topcoats, here are the best to use.
* TACK FREE TOPCOATS: are the best to use with a brushing-rubbing-on technique. The Mirror effect is assured.
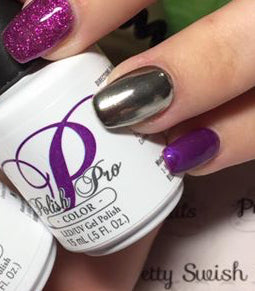
First on the List: SINA TOPCOAT (included in the PURPLE CHROME KIT (also sold separately on its own) comes on top of the list! It's the best to work with pigments - it's flexible and absorbing the chrome pigments really well. The pigments are staining the surface of this Topcoat really well. Great to use on natural nails too.Pigments are also usable on enhancements of course. Great mirror finish effect.
GLAZE'N GO Topcoat tend to be harder to be penetrated or stained by the pigments. This can vary sometimes on the cure from the lamp. The pigments are working by staining the Topcoat used underneath, so it's not happening if your Topcoat (tack free) is too hard after its cure.
* NON TACK FREE TOPCOATS: The need of using the pigments with a technique of Tapping-depositing on the surface of nails is the go, if you are not working with a Tack Free Topcoat. No mirror effect can be obtained ; but only a rich chrome metallic colour effect will show.
BALANCE BRUSH ON GLOSS UV is alright to use, but not giving a good mirror finish. Plus, it’s not a Tack Free Topcoat, so there is the need of applying the pigments on the tacky residue layer. Same as above: the finish look is a chrome metallic colour but the mirror finish look is not achievable.
THERMOSHIELD is showing like taking the pigments into it alright, but results are more as a chrome metallic colour or a sparkly glittery finish, but not a great mirror effect.
AIRSHIELD - Experiments were showing that the pigments cannot penetrate properly to stain the AIRSHIELD Topcoat. So pigments are only usable as they are chrome and metallic colours, maybe patted into a freshly applied layer and before its drying but the mirror effect cannot be achieved with this topcoat.
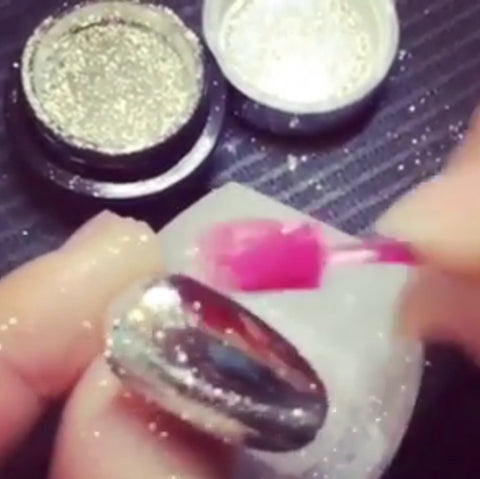
Chrome Pigments application
After the application of SINA TOP COAT or GLAZE’N GO topcoat and cure, you can then process to the opening of your chrome pigments jars.
You must rub the chrome pigments powders into the Topcoat on the nail surface, to get a mirror effect look. Apply the chrome pigment powders with the sponge applicator.
Rub the pigments in all directions and try to get them to penetrate the topcoat, like you want the pigments to stain the clear topcoat, rub from the nail free edge to the cuticle area and then in the other direction.
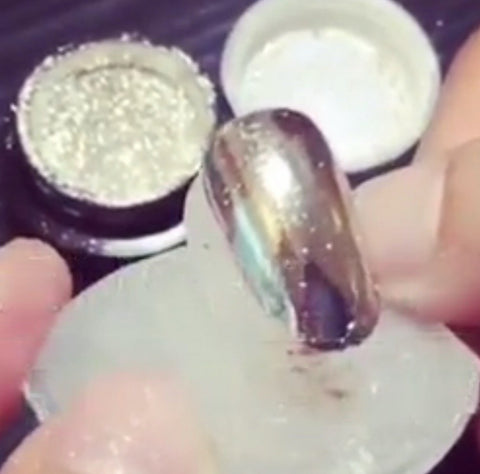
When you see that the pigments have actually properly penetrated the topcoat and are giving a change of look for the colour, you can then remove gently the rest of the pigments around cuticles and sidewalls. Clean the excess of pigments with a clean soft new make up brush or a clean nail wipe and have a light touch to do this, otherwise you will leave tiny little scratches into the new chrome mirror look and they’ll be showing after the finishing topcoat.
Apply your last coat of SINA TOPCOAT or GLAZE’N GO and cure.
Et Voila, a nice chrome and mirror finish!
Tips:
* Keep 1 Bottle of SINA Topcoat to use just for your nail art, that way you will not get little particles of pigments or sparkles into your normal application of shine Topcoat on those regular nails (without nail art).
* To get the best result mirror finish possible, it is important to remove all the excess of pigment from the surface before applying your last layer of Topcoat, and as said above, to have your bottles of Topcoats staying free of any pigment or glittery effect into them.
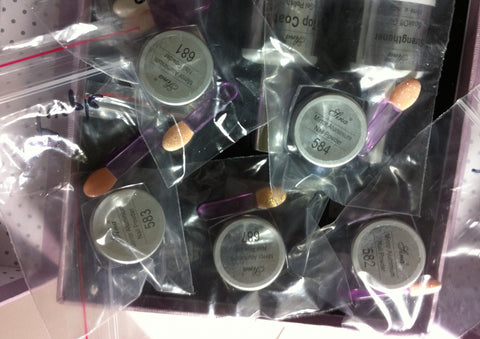
* Store each of your pigments in a little plastic zipping sachet with its brush applicator, you can even label the sachet with it’s name of colour.
* If the pigment powders are used on a tacky residue layer, it doesn’t actually give you an easy application as to rub the pigments into the topcoat to stay anchored ; the look is more like a chrome sparkly effect than a smooth mirror finish. By doing this, you are definitively using a bigger amount of your pigments that you could have saved by rubbing way less of your pigments onto a tack free topcoat that has a smoother surface… Use SINA TOPCOAT and see the difference!
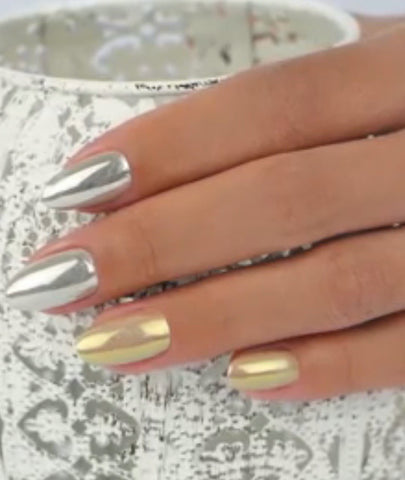
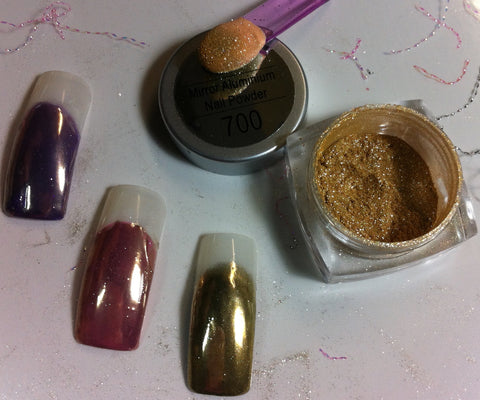
Another play with the last Chrome Pigments arrived: the GOLD and the HOLOGRAPHIC.
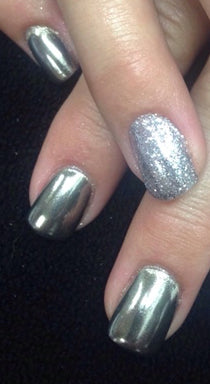
The GOLD 700 and SILVER 600 Chromes Pigments are very nice and giving this infinity of possibilities on various background of colours.
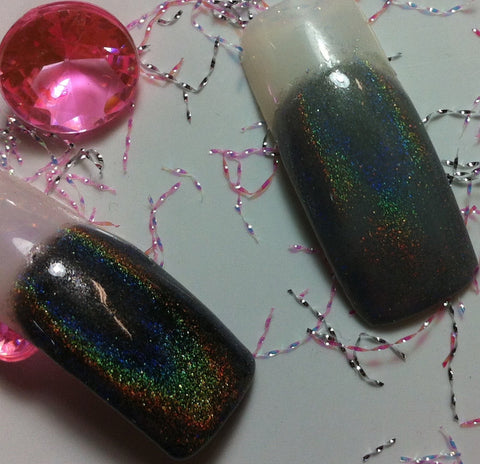
The HOLOGRAPHIC HCP100 Pigment is just amazing on the SINA TOPCOAT!
Gold Pigment on background of colours: Purple, Pink and light gold (from left to right)
Holo Pigments on Black and Grey (from left to right)
Enjoy your plays with Nail Art and the Chrome Mirror Pigments.